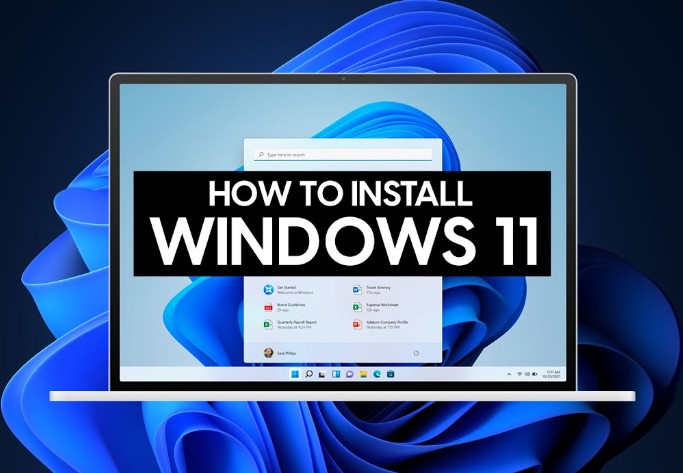
How to Install Windows 11: A Step-by-Step Guide

Introduction
Windows 11 is the latest version of Microsoft’s popular operating system, and it comes with a sleek new design, improved performance, and exciting new features. If you’re eager to upgrade your current Windows version or perform a clean installation, this article will walk you through How to Install Windows 11. Our detailed guide will cover everything you need to know to successfully install the new operating system on your PC. Let’s get started!
How to Install Windows 11
Before we dive into the installation process, let’s make sure your system meets the minimum requirements for Windows 11. Microsoft has introduced some hardware requirements that your PC must meet to run the new OS smoothly. Here are the basic prerequisites:
- Processor: 1 gigahertz (GHz) or faster with at least two cores on a compatible 64-bit processor or system on a chip (SoC).
- RAM: 4 GB or more.
- Storage: 64 GB or larger storage device.
- Firmware: UEFI, Secure Boot capable.
- TPM: Trusted Platform Module version 2.0.
- Graphics Card: DirectX 12 compatible graphics / WDDM 2.x.
- Display: >9″ with HD Resolution (720p).
- Internet connection: Internet connectivity is necessary to perform updates and to download and take advantage of some features.
Preparing for Installation
Now that you’ve ensured your PC meets the minimum requirements, it’s time to prepare for the Windows 11 installation. Follow these steps to ensure a smooth process:
Back Up Your Data
Before you start the installation, it’s crucial to back up all your important data to an external drive or cloud storage. While the installation process should preserve your files, it’s always best to be cautious and have a backup ready, just in case.
Check for Updates and Drivers
To ensure a seamless installation, make sure your current Windows version is up-to-date. Check for any pending updates and install them before proceeding with the Windows 11 installation. Additionally, visit your PC manufacturer’s website to download the latest drivers for your hardware.
Create a Windows 11 Installation Media
To begin the installation, you’ll need a Windows 11 installation media. There are two common ways to create this:
- USB Flash Drive: Obtain a USB flash drive with at least 8 GB of storage capacity and use the Windows Media Creation Tool to create an installation USB drive.
- ISO File: If you prefer to create an installation ISO file, you can use the Media Creation Tool to download the Windows 11 ISO and then burn it to a DVD.
Installing Windows 11
With your installation media ready, it’s time to proceed with the actual installation. Follow these steps carefully:
1. Insert the Installation Media
Insert your Windows 11 installation USB or DVD into your PC’s appropriate port or drive.
2. Restart Your Computer
Restart your computer and enter the BIOS/UEFI settings by pressing the designated key during boot (usually Del or F2). In the BIOS settings, ensure that your PC is set to boot from the installation media.
3. Begin the Installation Process
Save the BIOS settings and restart your PC. The Windows 11 setup should now launch. Select your preferred language, time, currency, and keyboard input on the initial setup screen.
4. Enter the Product Key
If prompted, enter your Windows 11 product key. This step may not be required if you’re upgrading from a genuine copy of Windows 10.
5. Accept the License Terms
Carefully read and accept the license terms to proceed with the installation.
6. Choose the Installation Type
You’ll be presented with two installation options:
- Upgrade: If you’re upgrading from a previous version of Windows, select this option to keep your files, settings, and applications intact.
- Custom: Choose this option for a clean installation. It will erase all data on the selected drive, so make sure you’ve backed up your files.
7. Select the Installation Drive
If you chose the custom installation, select the drive where you want to install Windows 11. Click “Next” to continue.
8. Wait for the Installation to Complete
Windows 11 will now begin installing. The process may take some time, so be patient.
9. Set Up Your PC
Once the installation is complete, your PC will restart, and you’ll be greeted with the Windows 11 setup screen. Follow the on-screen instructions to personalize your settings, such as your region, language preferences, and account setup.
FAQs
Can I Upgrade from Windows 10 to Windows 11 for Free?
Yes, Windows 10 users who meet the minimum hardware requirements can upgrade to Windows 11 for free through Windows Update. Microsoft offers a direct and straightforward upgrade path to the new operating system.
What If My PC Doesn’t Meet the Minimum Requirements?
If your PC doesn’t meet the minimum requirements for Windows 11, you won’t be able to upgrade directly. However, you can still enjoy Windows 11 by purchasing a compatible PC that meets the necessary specifications.
Can I Revert to Windows 10 After Installing Windows 11?
Yes, Windows 11 allows you to revert to your previous version within ten days of the installation. Go to Settings > Update & Security > Recovery and select “Go back to Windows 10” to initiate the rollback process.
Do I Need a Microsoft Account to Install Windows 11?
While a Microsoft account offers additional features and services, it is not mandatory to have one to install Windows 11. During the installation process, you can choose to create a local account instead.
Will I Lose My Files During the Installation?
If you choose the upgrade option, your files, settings, and applications will remain intact. However, if you opt for a clean installation, all data on the selected drive will be erased, so be sure to back up your important files.
How Long Does the Windows 11 Installation Take?
The installation time varies depending on your PC’s specifications and the type of installation you choose. On average, the process takes around 20-30 minutes for the upgrade and approximately 30-60 minutes for a clean installation.
Conclusion
Installing Windows 11 can breathe new life into your PC with its exciting features and modern design. By following the step-by-step guide in this article, you can smoothly install Windows 11 and begin exploring all the enhancements it offers. Remember to back up your data, check for updates, and ensure your PC meets the minimum requirements before starting the installation process. Enjoy the next-level Windows experience!
Partner Site : Homes And Decoration, Houses Improvements, Healthy Dog And Cats, Pets Trainings, Animal Loverss, Industrials Machine, Crypto KUS, My Belove Pet